
Renovation Project Management for Beginners

Table of Contents
- What You’ll Need Before Starting Your Renovation Project
- Step 1: Define Your Renovation Goals and Scope
- Step 2: Create a Home Renovation Budget Template
- Step 3: Develop a Renovation Project Timeline Example
- Step 4: How to Manage Tradespeople During Renovation
- Step 5: Monitor Progress and Handle Changes
- Common Mistakes to Avoid in Renovation Project Management
- Frequently Asked Questions
Last Updated: September 27, 2026
What You’ll Need Before Starting Your Renovation Project
Before you pick up a hammer or call your first tradesperson, gather the essentials. Successful renovation project management starts with preparation, not action.
You’ll need a clear vision of what you want. Take photos of spaces you like. Collect inspiration from magazines or websites. Write down what bothers you about your current space. This becomes your brief.
Next, gather your documents. Find your property title, council records, and any existing building plans. These matter for permits and approvals. Check whether your renovation needs council sign-off, most do in this market.
Get a notebook or use a simple spreadsheet. Track every decision, quote, and conversation. This becomes your project record. When disputes arise later, this record protects you.
Finally, set aside time. Renovation project management requires regular attention. Plan for weekly check-ins with your builder or trades. Budget at least 5-10 hours per week for decisions, site visits, and communications. If you’re not prepared to stay involved, the project will drift.
Start a shared folder with your builder. Store all quotes, plans, emails, and photos in one place. This single source of truth prevents miscommunication and lost documents.
Step 1: Define Your Renovation Goals and Scope
Your renovation project management begins with clarity. Write down exactly what you want to change and why. Don’t say “update the kitchen”, say “replace the worktops, upgrade appliances, add storage, and improve lighting.”
The scope is your boundary. It answers these questions: What rooms are included? What stays and what goes? What’s nice-to-have versus must-have? A clear scope prevents scope creep, which destroys budgets and timelines.
Break your project into phases if it’s large. A full home renovation might split into: kitchen first, then bathrooms, then outdoor areas. Phasing lets you manage cash flow and live through the chaos in stages.
Write your goals down. Share them with your builder or architect. Ask them to confirm the scope is realistic and complete. Missing items now cost time and money later.
Common goals for homeowners include:
- Improve daily functionality and flow
- Update outdated fixtures and finishes
- Add storage or living space
- Improve energy efficiency
- Increase property value
- Create a space that matches your lifestyle
Your renovation project management plan should connect each goal to specific work. If your goal is “improve daily functionality,” that means specific changes: relocate the pantry, add a second bathroom, or reconfigure the layout.
Vague goals create vague budgets and timelines. “Modernise the space” leads to endless discussions. “Replace dated tiles with large-format porcelain and upgrade lighting to warm LED downlights” is specific and actionable.
Step 2: Create a Home Renovation Budget Template
Your budget is your financial guardrail. Without one, costs spiral. Start by researching typical costs for your project type. Talk to builders, check online guides, and ask friends who’ve renovated recently.
Create a simple spreadsheet with these columns:
| Item | Estimated Cost | Actual Cost | Notes |
|---|---|---|---|
| Labour | |||
| Materials | |||
| Permits | |||
| Contingency |
Allocate a contingency fund, typically 10-20% of your total budget. Renovations always uncover surprises. Asbestos in old walls, structural issues, or hidden rot require immediate spending. A contingency buffer keeps you from panicking or making poor decisions under pressure.
Break costs into categories: labour, materials, permits, and professional fees. Labour is usually the largest expense. Materials come next. Permits and inspections matter more than many homeowners expect.
List every item you plan to include. Kitchen renovations include: cabinetry, worktops, splashbacks, appliances, plumbing, electrical, flooring, and painting. Don’t forget hidden costs like removal of old fixtures, disposal fees, or temporary accommodation if you’re living in the home.
Get three quotes for major work. Compare what each quote includes. One might include removal and disposal; another might not. These differences affect your true cost.
Track actual spending as work progresses. Update your spreadsheet weekly. This shows whether you’re on track or heading over budget. Early warning lets you make adjustments before it’s too late.
Your home renovation budget template must be specific, detailed, and updated regularly. Vague budgets create vague outcomes.
Step 3: Develop a Renovation Project Timeline Example
A realistic timeline keeps your project moving. Rushed timelines create poor quality. Dragging timelines drain your patience and budget.
Start with your end date. When do you need the work finished? Work backwards from there. A kitchen renovation typically takes 6-12 weeks depending on complexity. A bathroom takes 4-8 weeks. A full home renovation can take 6-12 months or longer.
Add buffer time. If your builder says eight weeks, add two weeks. Weather delays, material shortages, and unforeseen issues are normal. Building in slack prevents the entire project from falling apart when one phase runs late. Mapping out these contingencies early makes it much easier to create a project schedule that accounts for the inevitable fluctuations in your timeline.
Create a simple timeline showing major phases:
Month 1: Design and planning, permits submitted
Month 2: Permits approved, materials ordered, demolition begins
Month 3: Rough work (plumbing, electrical, structural)
Month 4: Finishes (flooring, cabinetry, painting)
Month 5: Final touches and inspection
Share this timeline with your builder. Ask them to confirm it’s realistic. They’ll flag if anything’s impossible or if sequencing needs adjustment.
Update your timeline monthly. Track what’s actually happened versus what was planned. If you’re behind, discuss with your builder now. Small delays compound into big ones.
Your renovation project management timeline should include milestones, key decision points or completion dates. “Kitchen cabinetry installed by week 8” is a milestone. It gives everyone a clear target.
Step 4: How to Manage Tradespeople During Renovation
Managing tradespeople is where renovation project management becomes real. Clear communication prevents 90% of problems.
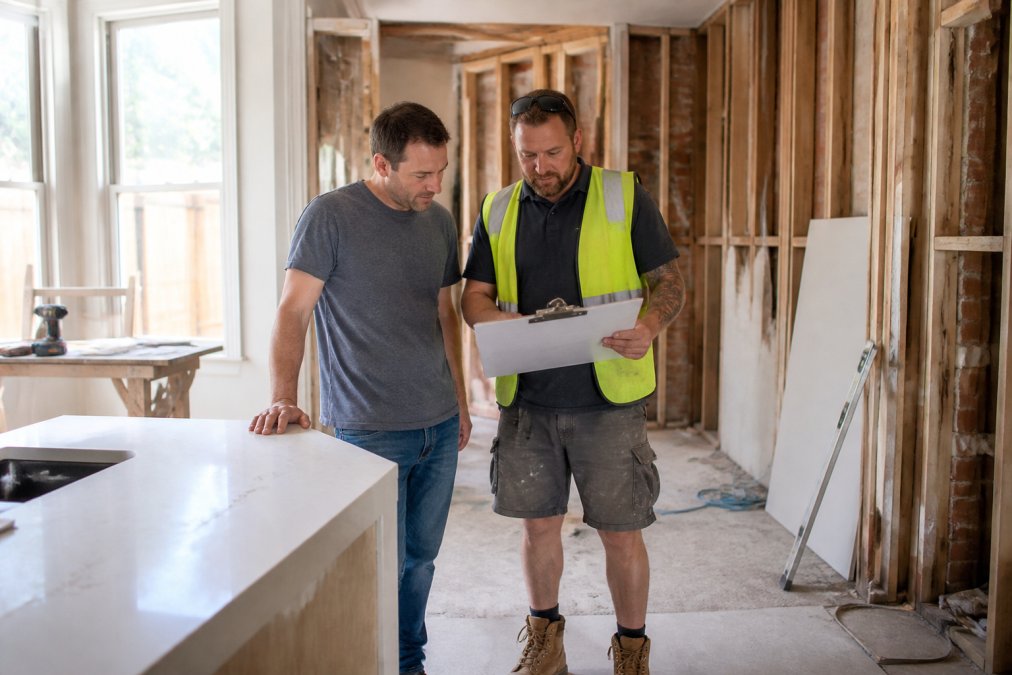
Establish a communication protocol from day one. Decide how you’ll stay in touch, phone, email, or messaging app. Set expectations: “I’ll check in every Monday morning” or “Contact me if anything unexpected comes up.” Consistency matters more than frequency.
Hold a site meeting before work starts. Walk through the project together. Point out what you want to protect. Discuss access, parking, and site cleanliness. Agree on working hours and whether they can play music or have breaks on your property.
Document everything in writing. After a conversation, send an email confirming what was discussed and agreed. “As discussed today, the new worktop will be installed on Friday, 15 September. We agreed the colour is Carrara marble effect.” This creates a record and prevents misunderstandings.
Inspect work regularly. Don’t wait until the end to notice problems. Walk the site twice weekly during active work. Take photos. Note anything that doesn’t match your brief or looks below standard.
Pay on time but not early. Agree on payment terms upfront, typically 30% deposit, 30% mid-project, and 40% on completion. Don’t pay the final amount until work is finished to your satisfaction and inspections pass.
Keep emotions out of it. Tradespeople are professionals doing a job. If something’s wrong, address it factually: “The tiles aren’t aligned as we discussed. Let’s fix this before we move forward.” Avoid blame or frustration in your tone.
Most tradespeople problems stem from unclear expectations, not bad work. Spend time explaining exactly what you want. Show photos, samples, and sketches. Clarity upfront saves arguments later.
Step 5: Monitor Progress and Handle Changes
Your renovation project management must include active monitoring. Weekly site visits and progress checks keep everything on track.
Create a simple checklist of milestones. Check them off as they’re completed. This gives you confidence the project is moving and lets you spot delays early.
Photos are your best tool. Take photos of the space at each phase, before work starts, during rough work, during finishes, and after completion. These photos become your record. They prove what was done and help you spot quality issues.
Handle changes carefully. Changes cost time and money. Before approving any change, get a quote for the cost and timeline impact. Ask: “How much extra will this cost? How many days will it add?” Then decide if it’s worth it.
Document all changes in writing. A verbal agreement to change something is worthless. Get a written change order signed by you and your builder. It should state what’s changing, the cost, and the timeline impact.
Expect some changes. You’ll discover things during demolition. You’ll change your mind about colours or fixtures. Budget for a small contingency of changes, maybe 5-10% of your total project cost.
Stay flexible but firm on the essentials.
Common Mistakes to Avoid in Renovation Project Management
Most homeowners make predictable mistakes. Learning from them saves time, money, and stress.
Frequently Asked Questions
What are the first steps in managing a home renovation project?
Start by defining your renovation goals and the scope of work. Create a detailed budget, establish a realistic timeline, and identify the key trades you’ll need (plumber, electrician, carpenter). Research and select reliable tradespeople, then set up a communication plan. Document everything in writing, contracts, specifications, and payment schedules. A clear plan from the beginning prevents confusion and costly delays.
Do I need a project manager for a residential renovation?
For smaller renovations (single room, minor updates), you may manage it yourself with careful planning. For larger projects involving multiple trades, significant costs, and complex coordination, a project manager adds real value by overseeing timelines, quality, and communication. They handle daily site management so you don’t have to. Consider your comfort level with the complexity and your availability before deciding.
How do I create a realistic budget for a home renovation?
List every component of your project: materials, labour, permits, and contingencies. Get quotes from at least three tradespeople for major work. Add a 15-20% contingency buffer for unexpected costs. Document each item with costs and supplier details in a spreadsheet or dedicated template. Review your budget monthly as the project progresses and adjust as needed. Transparency with your trades about your budget helps them work within realistic constraints.
What permits are required for home renovations?
Building permits depend on the scope of work and your local council requirements. Major structural changes, electrical work, plumbing, and extensions typically require permits under the Building Act 1993. Minor cosmetic updates may not. Contact your local council early to confirm what applies to your project. Obtaining the right permits protects you legally and ensures work meets safety standards. Your builder or project manager can guide you through this process.